How to write a new documentation
Docusaurus, the platform used to create our documentation uses markdown files (.md/.mdx) to display it’s pages. To get started with adding / editing documentation follow the steps.
Clone the git repository
git clone ...
To make shure everything is in working order run
npm install
To run the Docusaurus Documentation on localhost, run the following command
npm start
The searchbar only works in the final build and is unfunctional in development mode
Step 1 - Understanding the Folder Structure
Docusaurus is configured to automatically build the sidebar from the “docs” folder
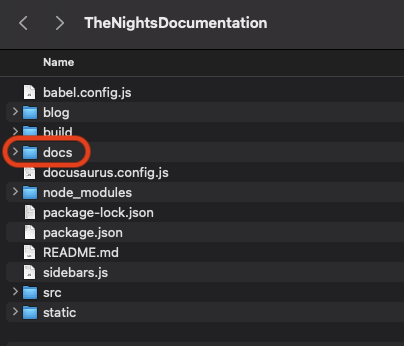
Every file in the docs folder is it’s own list Item in the Sidemenu. Creating a Folder, creates a Dropdown in Docusaurus.
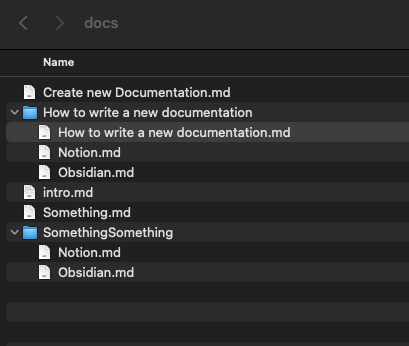
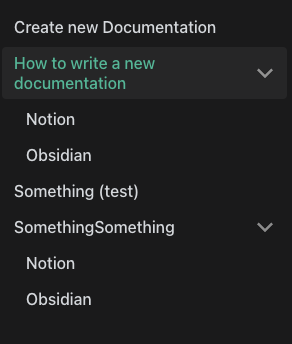
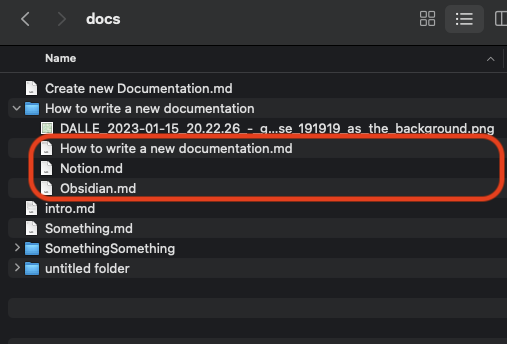
When placing a file with the same name as the folder it is in, it will be displayed when clicking on the Dropdown and not as a child. This can be seen in “How to write a new documentation”
When there is no such File, the folder/Dropdown can’t be selected and only it’s children can be viewed. This can be seen in “SomethingSomething”
Step 2 - Creating a markdown file
There are a multitude of ways to create Markdown files easily. Some options include Notion, Obsidian or creating markdown files in a text editor of choice by hand.
Step 3 - Images and Links
****optional****
please follow the corresponding guides about how to handle Images and Links after Export. Here are some general considerations.
Images
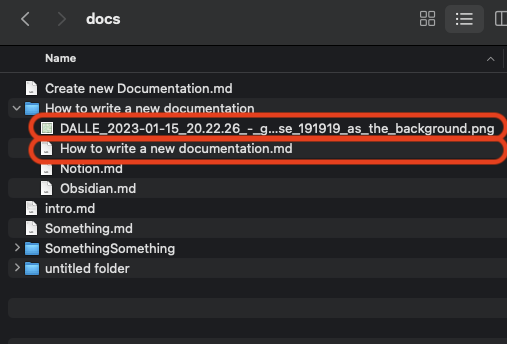
Images can be embedded using the following markdown command


In this example Image is placed inside the same folder as the file, it is embedded in. (embedded in “How to write a new documentation.md”)
Links
Links to other pages can be added using the following command
[<DisplyedName>](<Link>)
[Notion](Notion.md)
In this example all files are located in the same folder.
Step 4 - Testing
To run the Documentation on localhost, run the following command
npm start